Solar heating at home.
Constructed in 1985 and dismantled in 2018
 |
|
|
In the year 1982 my wife and I lived in the apartment with my parents
in Duffel. My dad and I wanted to build a little sunheated boiler, so
after a small testcase we wanted to build a bigger one! Because this apartment
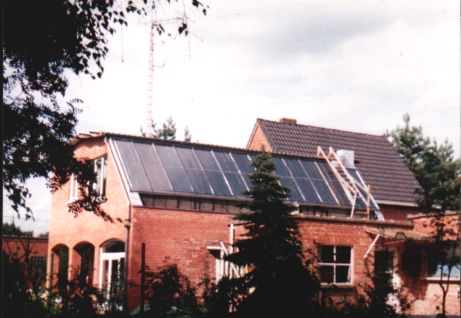
was too small, we enlarged it in 1985 and we build it so that 25 m2 of
roof fronted towards the south! Now we could start to build a bigger
sunheated boiler.
From a local tinning factory, we bought the metal plates. My dad built a small metal press, so we could press the grooves in the plates. |
|
|
|
|
|
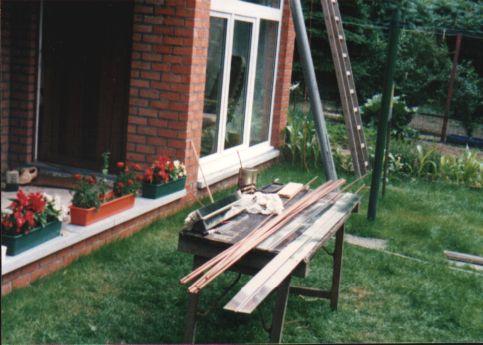
The copper tubes (2.5 m length and 8mm diam) come in the grooves of the metal plate which is 100 mm wide |
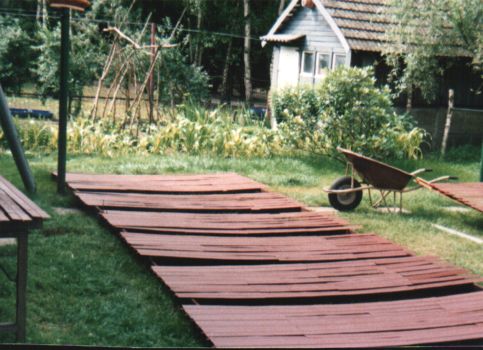
Now all the 100 plates (100 mm x 100 pieces = 10 meter) with tubes must be painted with a primer-coating to prevent corrosion. |
|
|
|
|
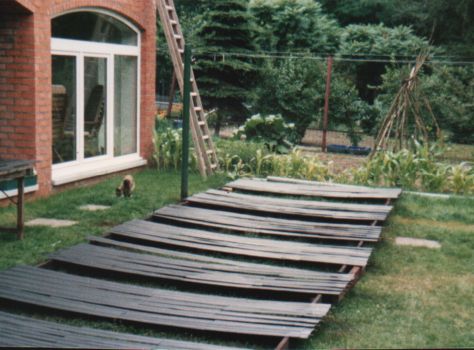
After the primer they must be painted with a matt black paint, for better heat absorption. At the top and bottom of the tubes comes a header tube of 1" and 10 meter length. Every 100 mm in the 1" header (top and bottom) a fitting is screwed. |
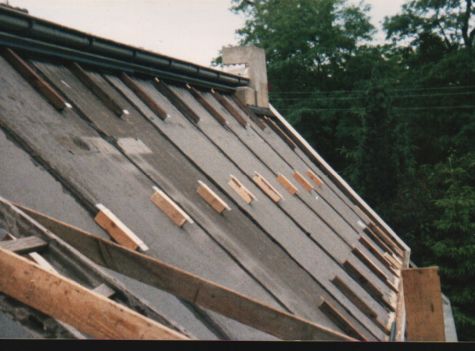
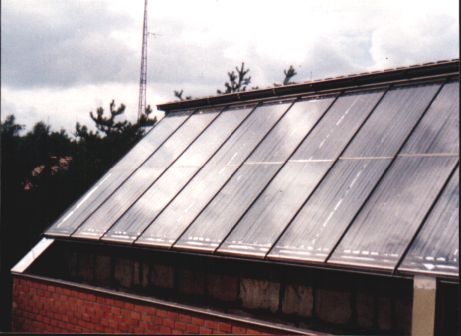
The roof has an angle of 45° and is covered with roofing insulated with 50 mm rock wool with aluminum foil on top, then come the plates with tubes. |
|
|
|
|
When everything was assembled we placed the glass on top, between the glass and the plates with tubes is a 30 mm air space. |
The construction is faced towards the south and must be waterproof and filled up with anti-freeze!! |
|
|
|
|
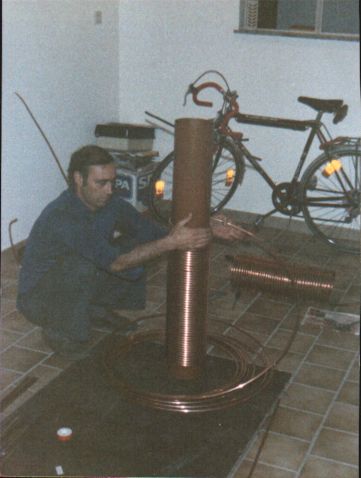
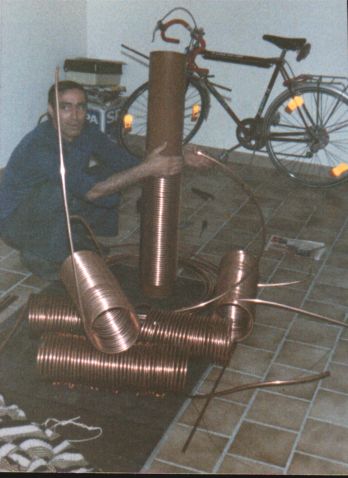
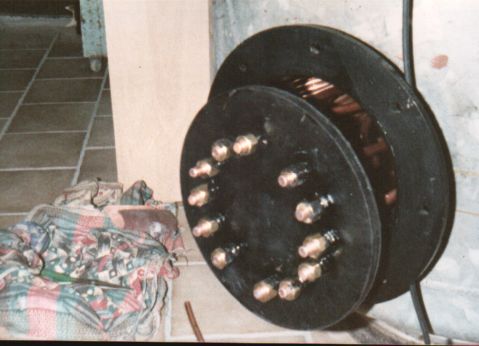
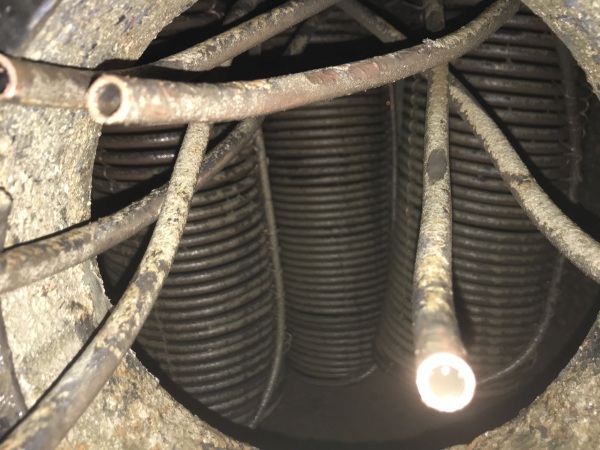
Filled up with anti-freeze the system must have a heat exchanger, 6 copper spirals must transfer the heat (reboiler type in the bottom of the water reservoir 2 x 1000 liters) from the anti-freeze system to the water reservoir connected to the central heating system. |
For hot tapped sanitary water 3 copper spirals were assembled at the top of the water reservoir. After having installed this, it appeared not working very well, the water wasn't hot enough!! Therefore we placed an extra 200 liters sanitary boiler. |
|
|
|
|
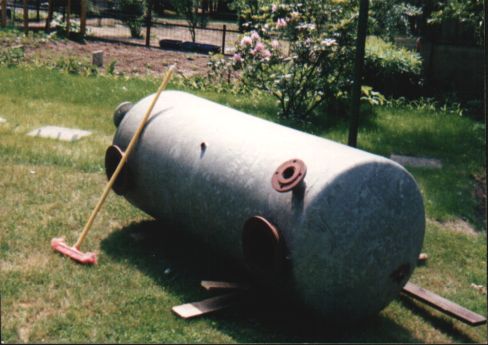
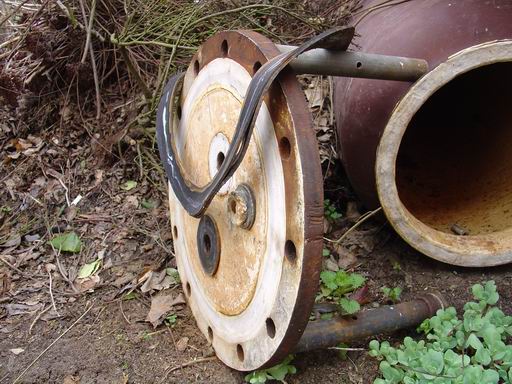
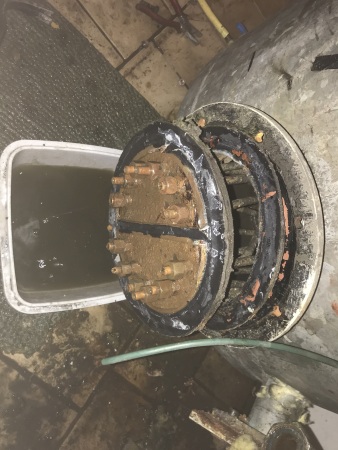
Two 1000 liters reservoirs must accumulate the heat from the roof and keep it for several days. You see the 2 holes top and bottom through which the copper spirals where placed. |
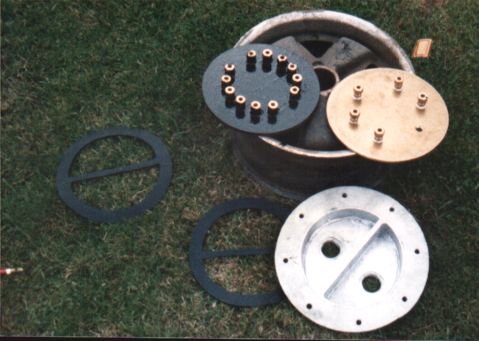
There are 2 tube plates, one in copper (top) for the sanitary water and one in galvanized metal (bottom) for the anti-freeze system. Also 2 covers with a partial inlet and outlet. |
|
|
|
|
The 6 copper spirals were placed in the water reservoir on the tube plate, now only the joints and the cover. |
Here both, top and bottom exchanger are placed. |
|
|
|
|
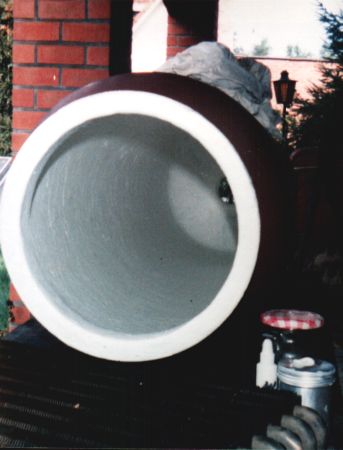
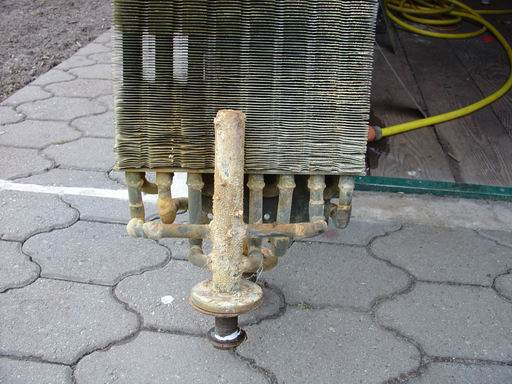
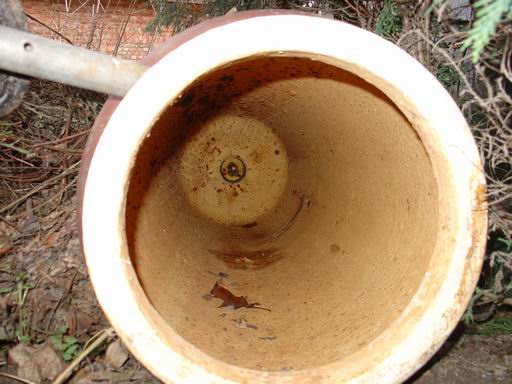
I already told that the water from the top exchanger wasn't hot enough, well therefore we placed an extra 200 liters boiler filled with sanitary water in series with the top exchanger. This was an old reservoir, we coated the inside with polyester so there will be no corrosion. |
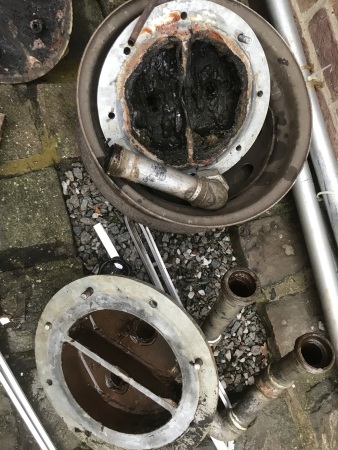
We placed a heat exchanger (an old copper radiator) on the bottom plate. After one year of service there was a small leak on one of the tubes, so we had to repair this. There was a lot of sand on the bottom, as you see, because we took drinking water from a local well. |
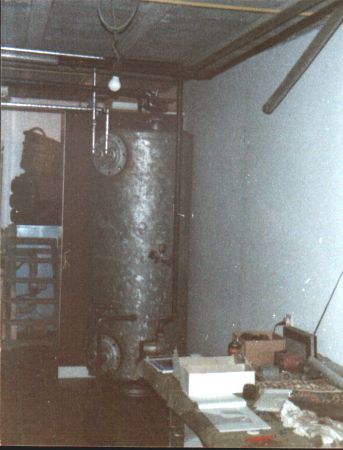
Situation of the solar boiler in 2003. | |
|
|
 |
|
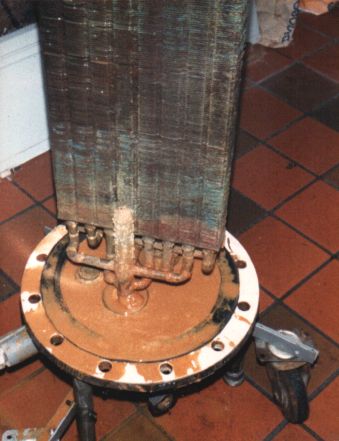
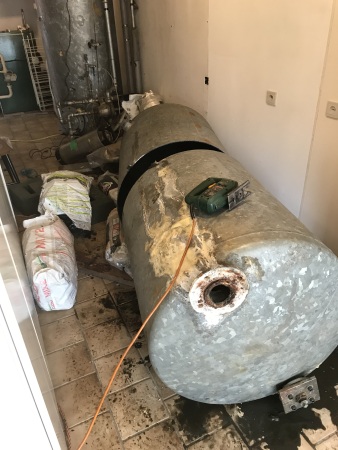
After 17 years there was a leak in the domstic solar boiler. |
De coating was broken en the water has corrodated the boiler. |
|
|
|
|
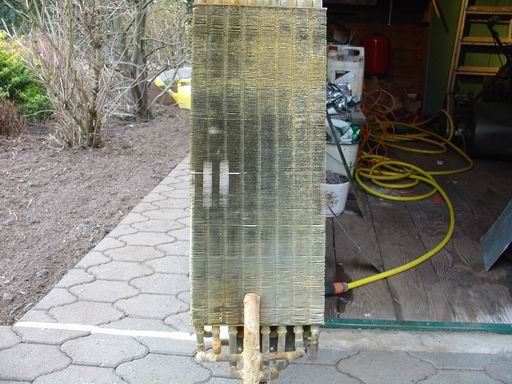
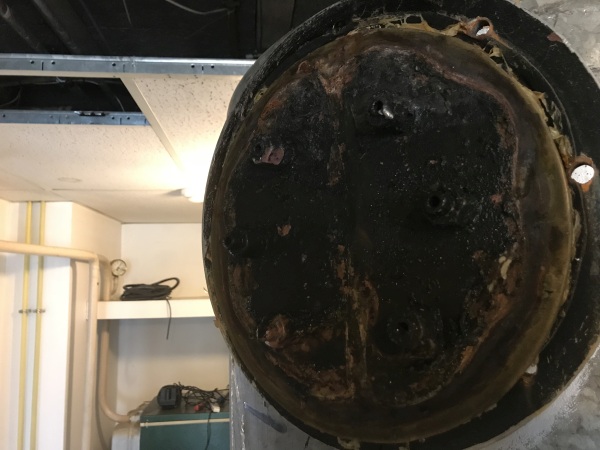
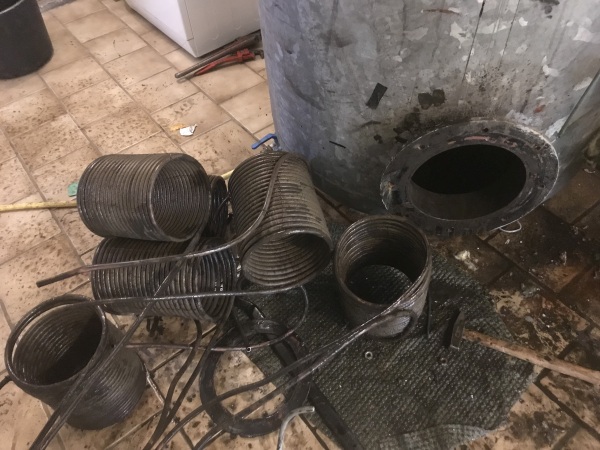
The heat exchangers in perfect condition.. |
From this moment only the 2 x 1000 litres boilers are in service with the sun collectors for the centrale heating. |
Situation of the solar boiler in 2018. | |

| 
|
| In the year 2018 my father passed away and we cleaned up his house. I have dismantled the solar boiler. | |
| 
|
| 
|
| 
|
| This solar boiler came to his end after 33 years. | |